
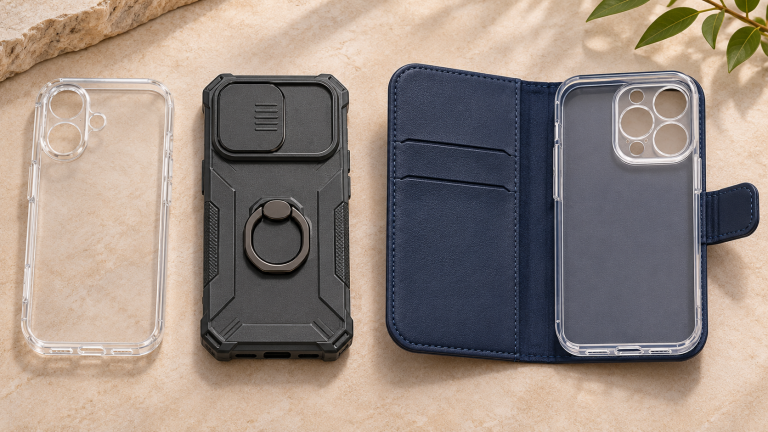
Choose custom phone case packaging around the product, the sales channel and the packing process. Start with the exact case and included accessories. Then agree the pack structure, finished dimensions, artwork, model labels and sample approval. A good-looking box is only useful if the right case fits, the buyer can identify it and the packed unit survives its intended handling.
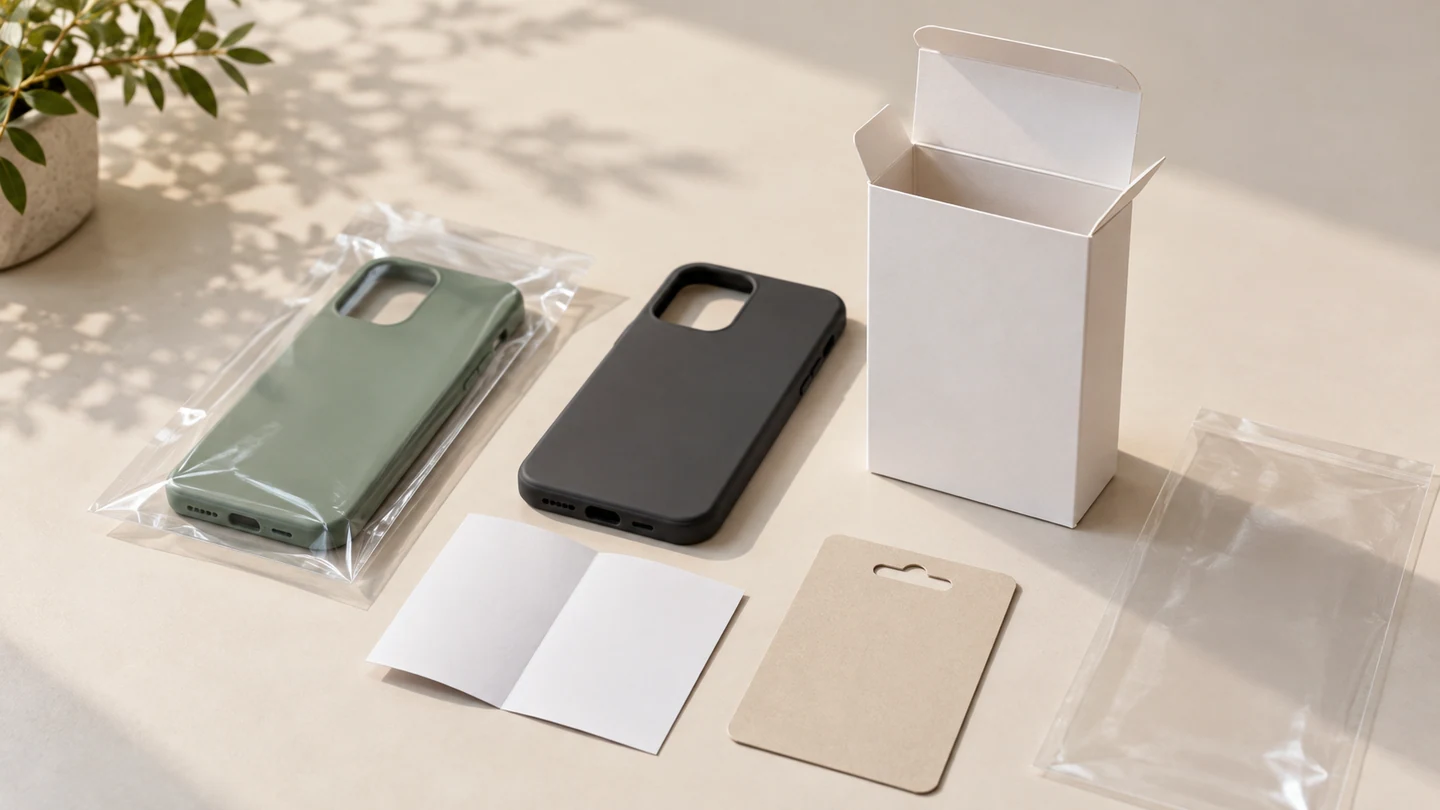
Kejie product options include standard OPP bags and PE bag / customized-packaging routes. For a branded pack, our OEM/ODM service brings packaging format, artwork and SKU identification into the project review. Share the selected product and sales channel before commissioning final print files.
Discuss my case and packaging brief with Kejie →
Plan your packaging
1. Start with the packaging attached to your chosen case
These two Kejie products give you concrete starting points. Their standard pack descriptions do not confirm a particular printed carton, hang card, insert or custom-pack minimum. Those details need a separate quotation and sample.
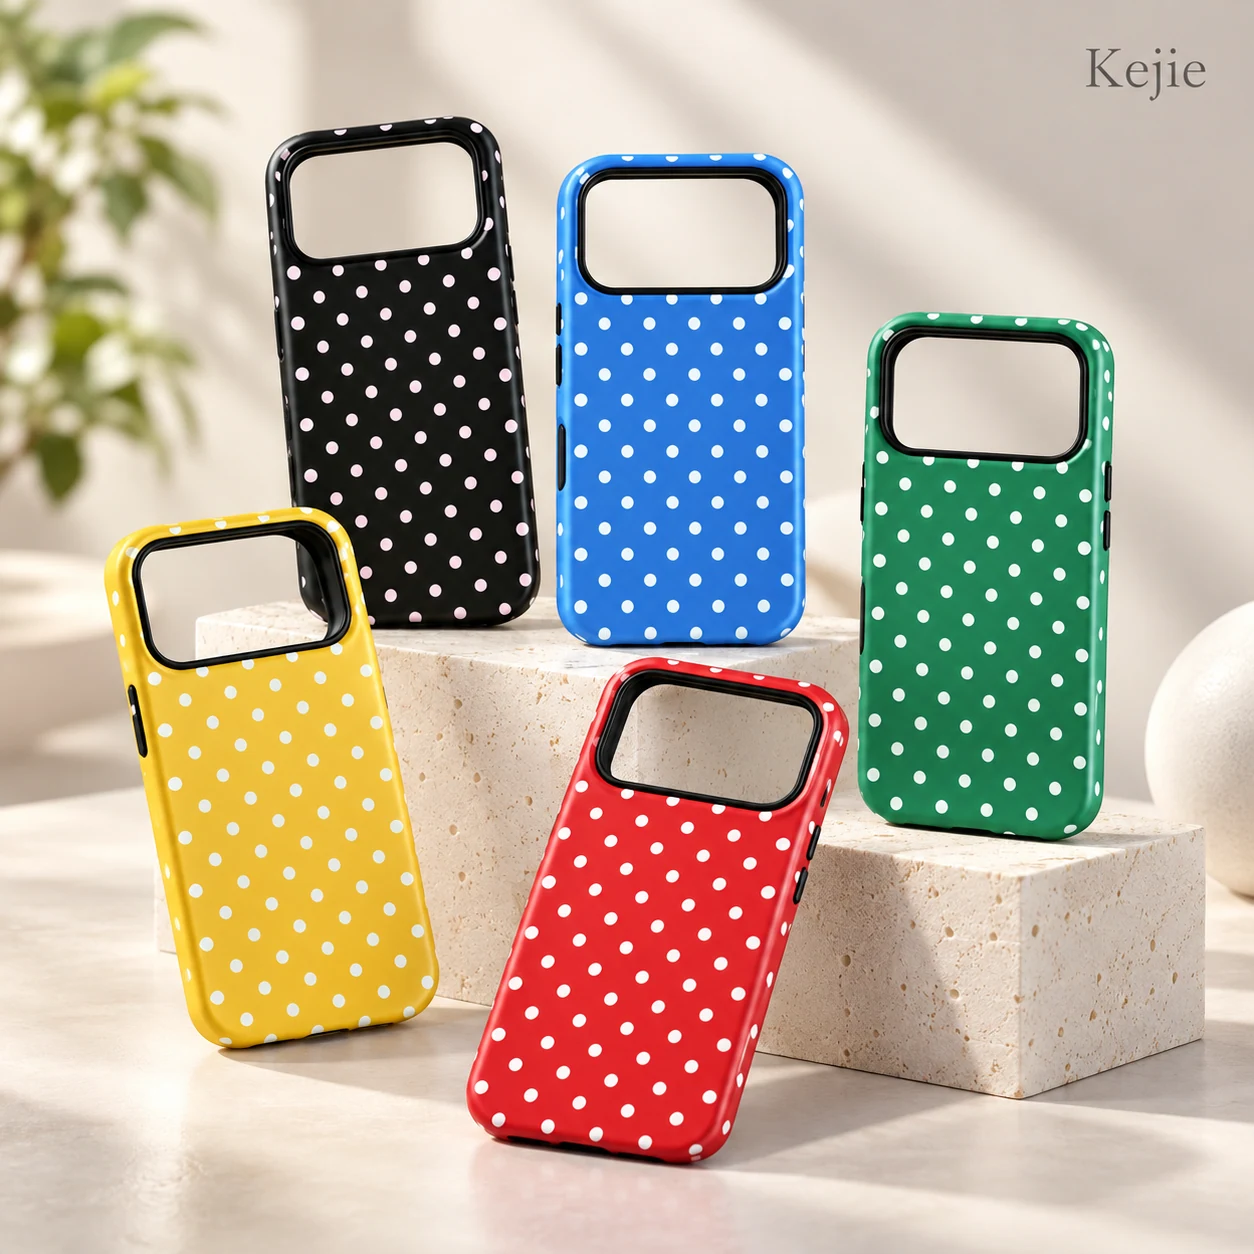
Custom Magnetic Polka Dot TPU + PC Shockproof Case for iPhone 17 Series
Listed standard pack: OPP bag. Listed standard case MOQ: 30 pieces.
Packaging decision: keep the graphic visible; identify each device and color clearly. Confirm whether standard bag packing is sufficient or whether a branded component is feasible.
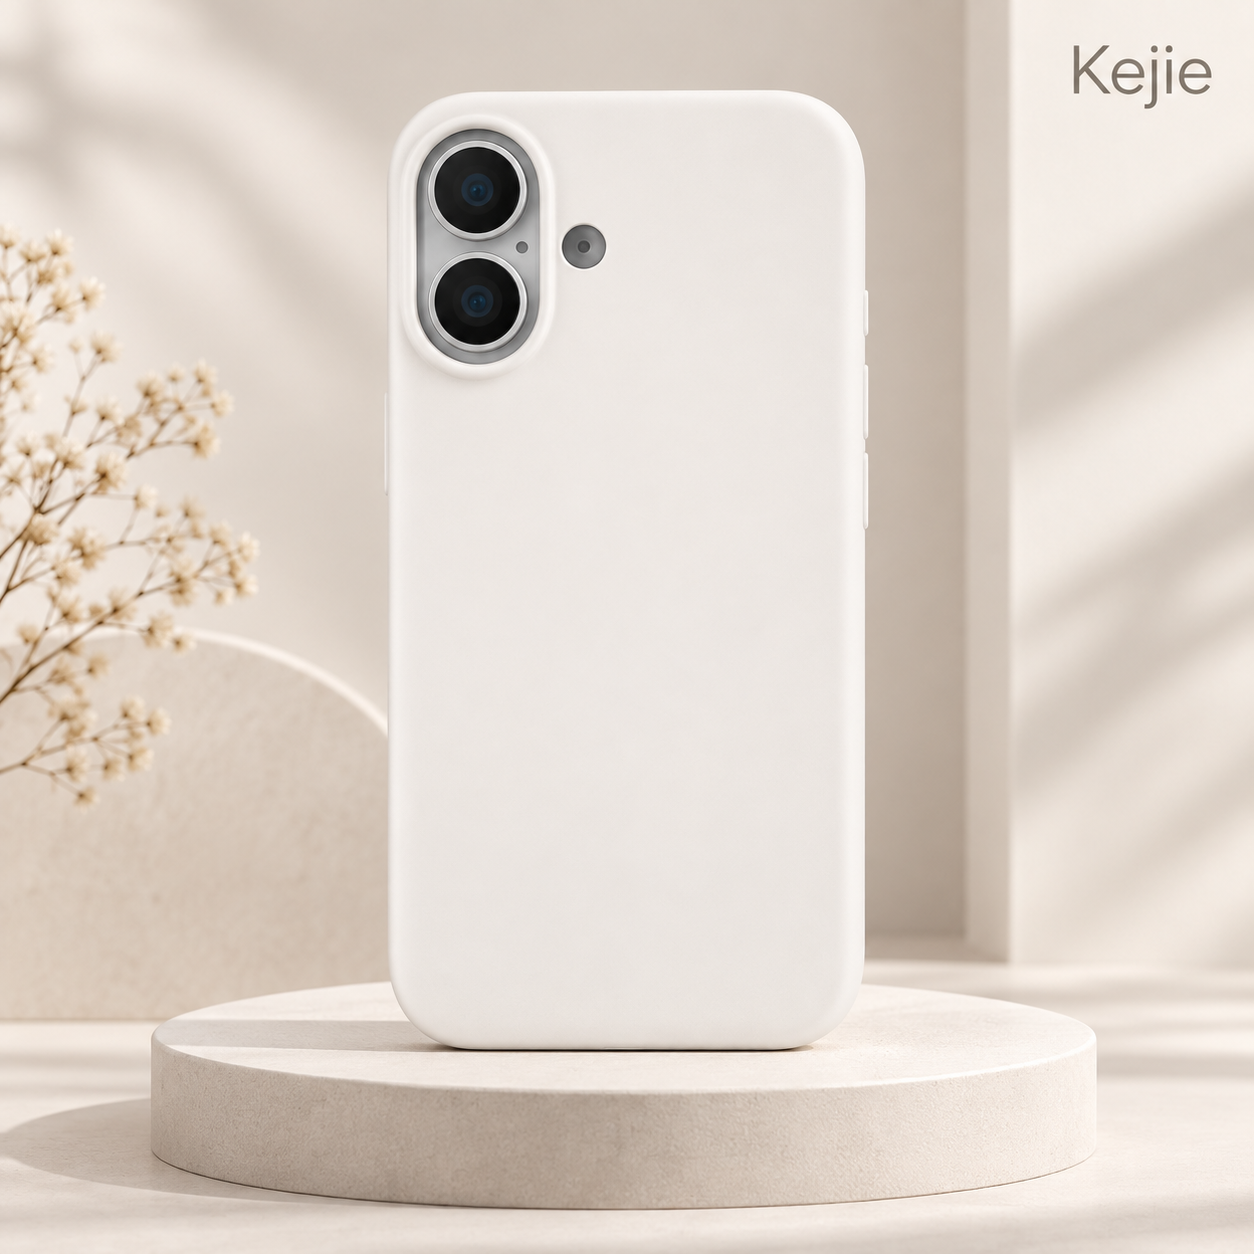
Custom Liquid Silicone Shockproof Case for iPhone 17 Series
Listed pack: PE bag / customized packaging. Listed case MOQ: 300 pieces.
Packaging decision: assess contact marks, dust pickup and movement in the proposed pack. Confirm the actual custom format and its separate minimum; the case MOQ is not a printed-box MOQ.
Building a complete branded range? Use the private-label phone case sourcing guide to connect case branding, packaging and repeat-order control.
2. Choose for the journey, not only the unboxing
| Your priority | Route to evaluate | Check before approval |
|---|---|---|
| Wholesale handling | Listed individual bag plus agreed outer packing | Surface contact, closure, counting and model separation |
| Retail display | Ask about a printed sleeve, hang-card pack or carton | Visibility, space for identity, hanging strength where relevant, and how staff open/repack it |
| Direct-to-customer shipping | Retail unit plus a separate shipping-protection plan | Movement, compression, rub marks, void space and the complete shipment configuration |
A clear bag can expose the design but offers limited resistance to crushing. A paperboard carton can provide display space and structure, but its performance depends on board, insert, closure and outer packing. More layers also mean more material, assembly and shipping volume. A retail pack is not automatically a shipping pack.
Printed sleeves, hang cards, cartons and inserts above are options to review with Kejie, not a confirmed universal packaging catalog. Ask which structure can be supplied for your case, quantity and destination. Do not print recycling, certification or protection claims without support for the actual materials and market.
3. Confirm what goes in the package before choosing its size
- Define one sellable unit. List the exact case variant, ring/strap or other accessories, protective film, insert card and any supplied screen protector. Do not size a package around an assumed bundle.
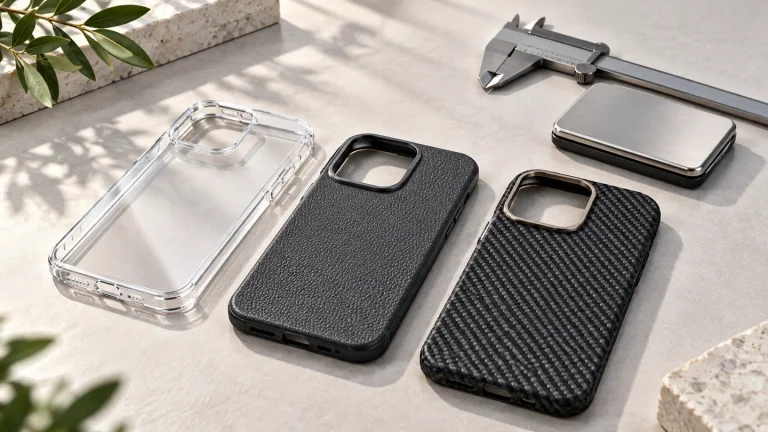
- Measure the finished product envelope. Include camera frames, raised rings, wallet flaps and other projections in the intended packed position. Agree which dimensions are internal usable space and which are finished external dimensions.
- Make a physical fit sample. Check insertion/removal, closure, movement and contact with decorated surfaces. Allowances depend on the structure and material; an online product’s package-size field is not an approved dieline.
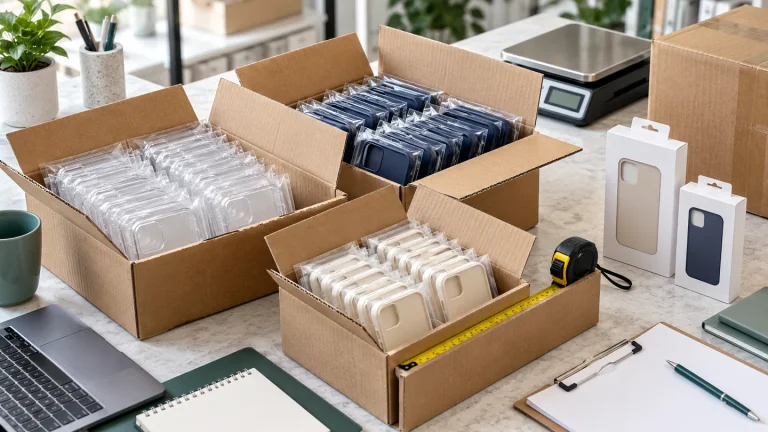
- Confirm the outer packing. State units per inner/master carton, model mixing, carton marks, weight and carton dimensions in the quote. Compare actual packed volume before deciding that a premium-looking box is economical.
Can several models share one box? Possibly, if the usable space and support fit every selected case. Test the largest and smallest configurations and keep device labels distinct. A shared outer size does not establish shared inserts or identical fit.
4. Approve the dieline before placing final artwork
The dieline defines cutting, folding and assembly. Artwork defines what gets printed and where. Ask Kejie to coordinate the current, printer-approved structure at actual scale; do not rebuild a production dieline from a screenshot or resize it to make the logo fit.
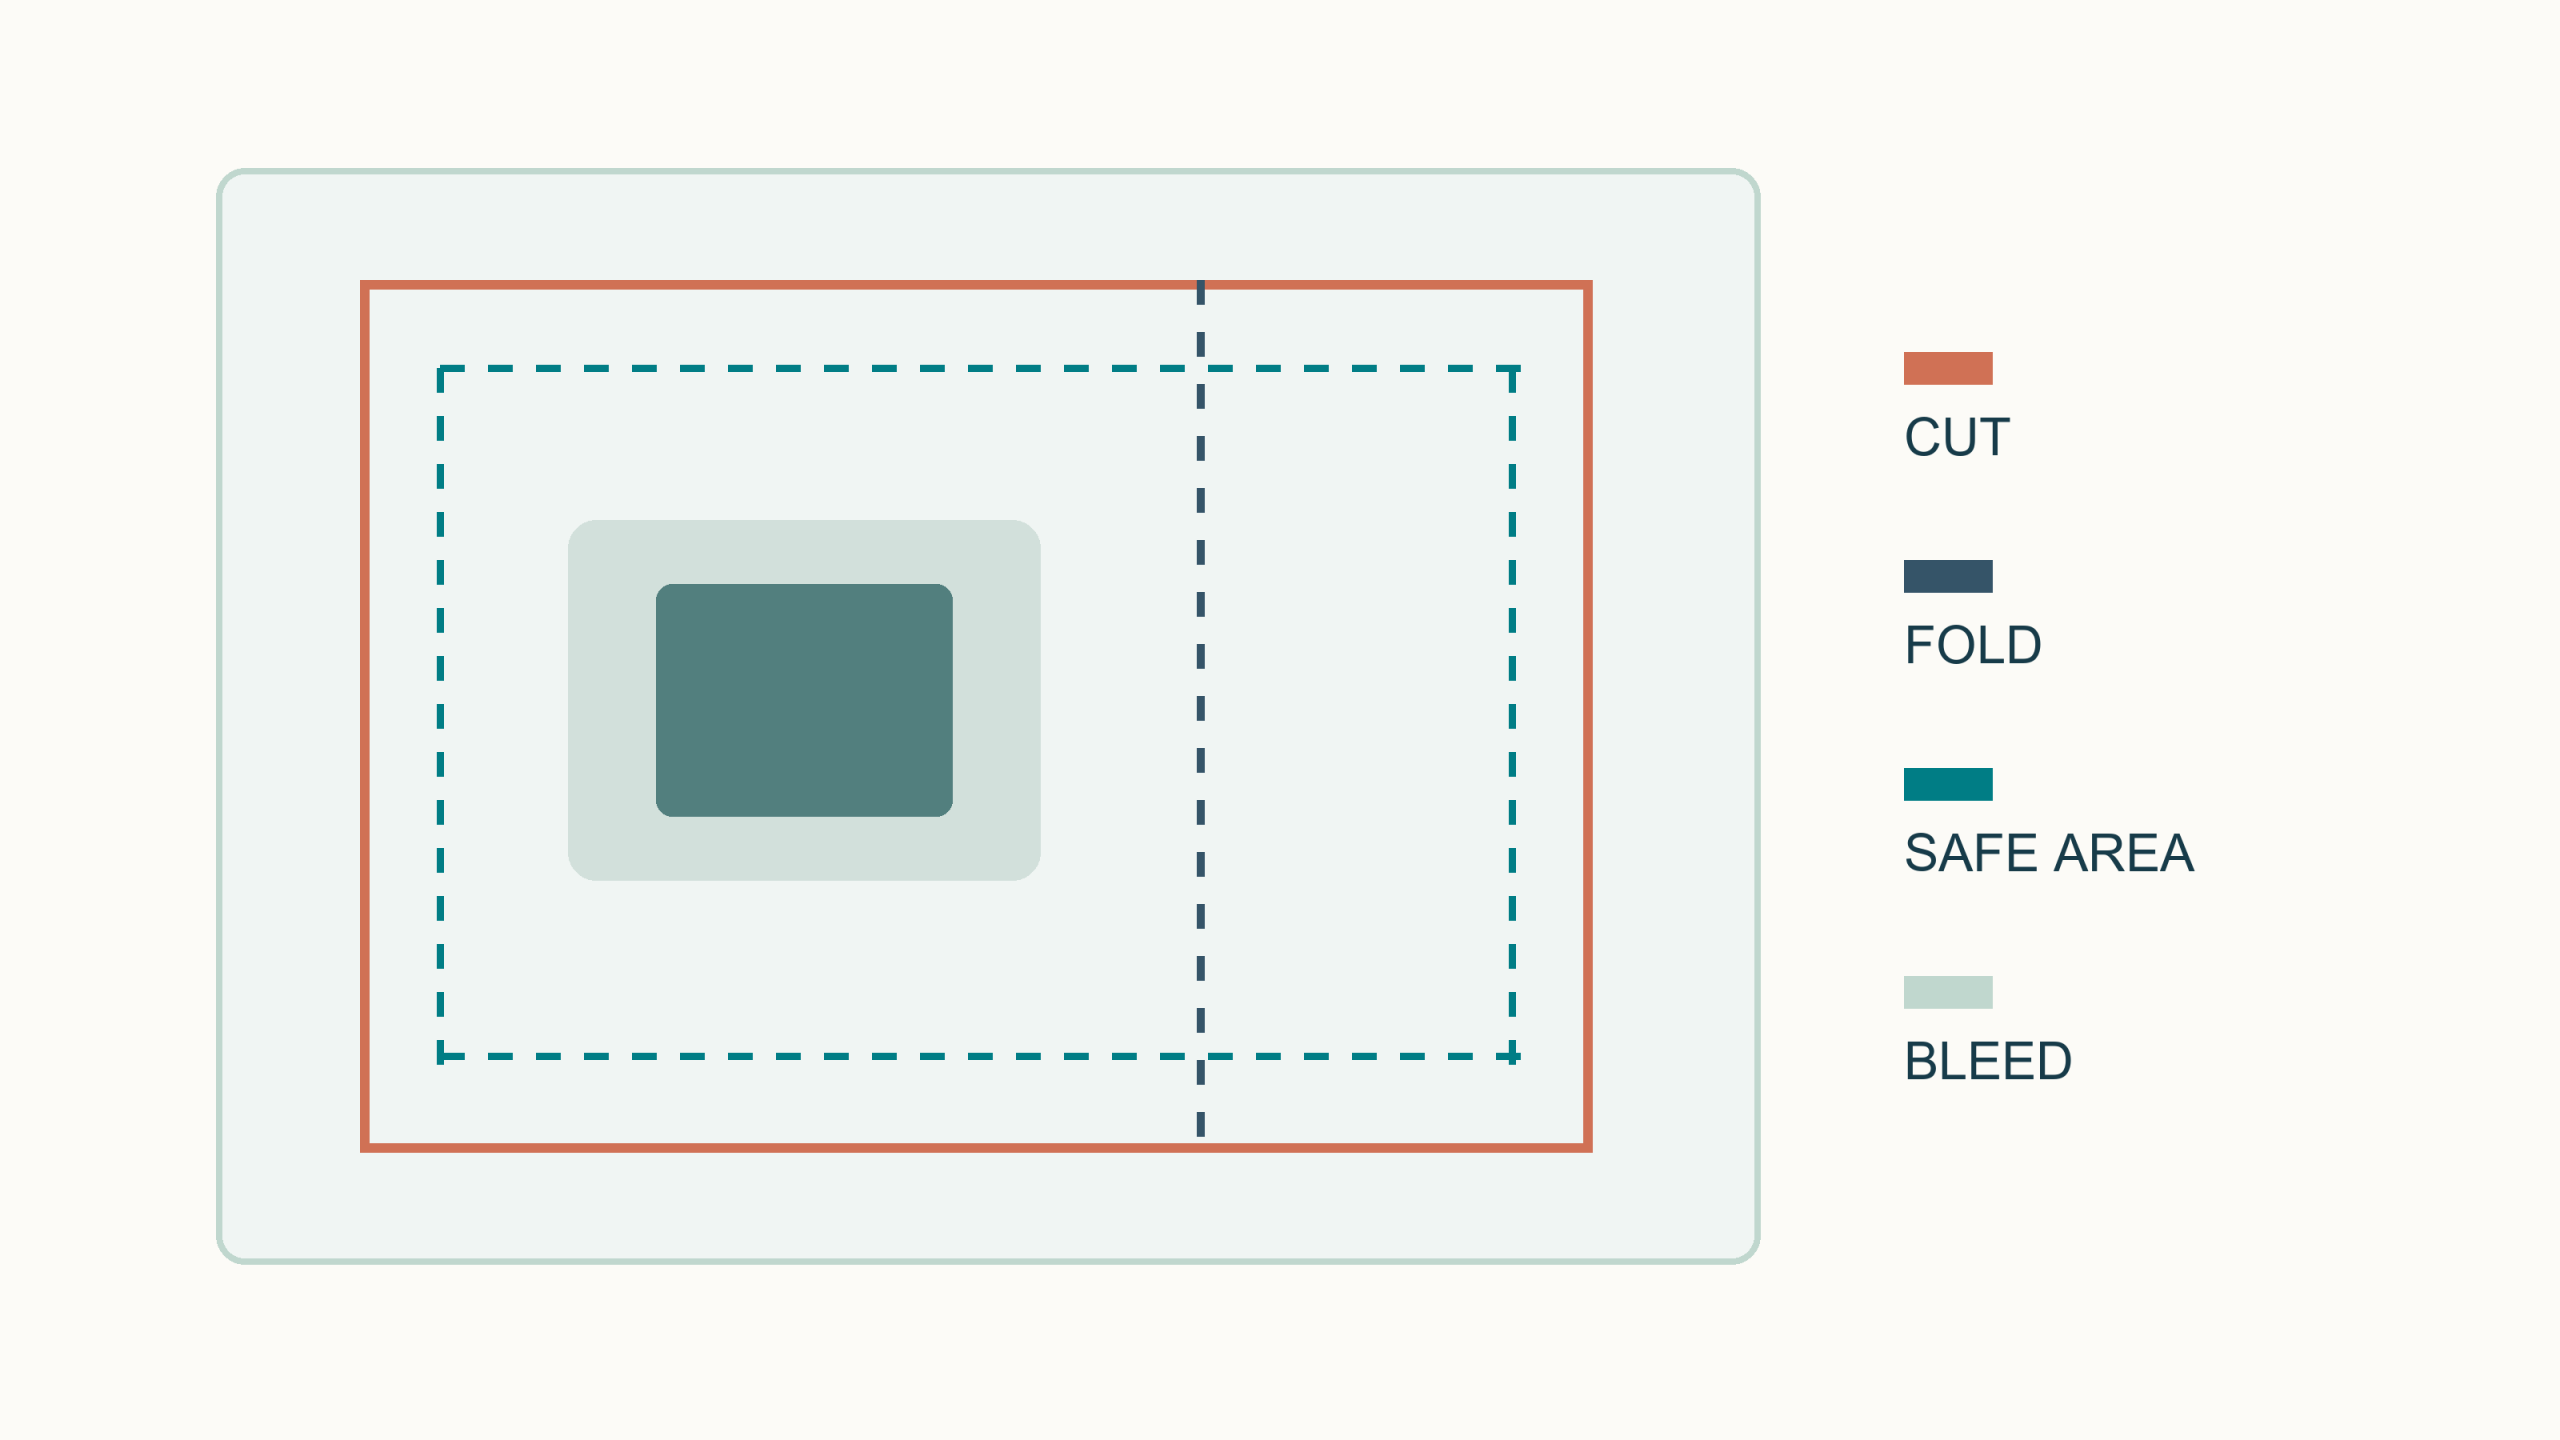
- Cut: the finished edge. Background artwork may need to extend beyond it.
- Fold: an assembly crease. Check the orientation of adjacent panels and keep important content away from vulnerable folds.
- Safe area: the agreed inward clearance for text and essential graphics.
- Bleed: artwork extending beyond the trim boundary. Agree the printer’s required amount rather than assuming one value fits every pack.
| Send / confirm | What the file must resolve | Stop if… |
|---|---|---|
| Approved dieline and revision | Scale, units, panel orientation, cut/fold/glue areas | The structure or packed size is still changing |
| Editable artwork and review PDF | Printer-accepted format; linked images included; font handling agreed | A low-resolution screenshot is the only master |
| Color and finishing brief | Agreed print process/profile, spot colors where needed, finish areas and physical color reference | A screen preview is treated as a color guarantee |
| Prepress approval | Bleed, safe margins, line weights, small text, overprint and non-printing dieline treatment | A cut/fold guide could appear in the printed graphics |
Use the print provider’s export preset and production requirements. Adobe’s print-bleed guidance explains why edge-to-edge artwork needs bleed and why the print provider’s PDF settings matter. Keep that technical specification with the approved artwork version.
5. Give every model, barcode and insert one owner
A common box with a replaceable model label may reduce artwork variants, but it creates a labeling task. Keep a single SKU mapping sheet and approve label content against the packed product—not just the case artwork.
One row per sellable variant
Internal SKU → exact phone model → color/finish → pack revision → label file → barcode data/type → insert revision → quantity.
Assign who supplies, checks and approves each field. Similar model names, colors and nearly identical boxes should not depend on a packer’s memory.
- Model label: specify exact device wording, color, placement and orientation. Make it readable without opening the pack; keep it clear of closures and useful product information.
- Barcode: agree the identifier and symbology required by the retailer or fulfillment route. Supply approved data and artwork. A QR code, internal SKU or warehouse label is not automatically an acceptable retail product barcode.
- Print and scan check: retain required quiet zones, suitable contrast and size, and avoid seams, folds or reflective interference. Check the final printed pack in its intended scanning setup; an office scan is not a substitute for formal verification when your customer requires it.
- Insert card: define purpose, language, size, fold, paper/finish, version and placement. Check that it does not scrape the case, obscure identification or prevent closure. Approve care and compatibility statements against the selected product.
For GS1 symbols, consult GS1 barcode guidance for the applicable symbol and quality requirements. Confirm identifier responsibility with the brand or retailer; do not invent product codes for a mockup.
6. Complete these three checks before approving the packaging
-
Structure sample → approve fit
Pack the exact case and all contents. Check support, closure, movement and handling. If the product or accessories change, return to fit review.
-
Artwork proof → approve information
Check every panel, model name, barcode data, insert copy, artwork version and print/finish instructions. Mark color limits of the proof. A digital proof does not approve the final material or surface finish.
-
Complete packed sample → approve the saleable unit
Review print, finish, label adhesion and scan behavior, case surface, contents and packing sequence. Agree inspection criteria and the transit test/configuration required for the route. Keep an approved sample ID and photos; carry its revisions into the order.
Agree sample type, cost, revisions, approval responsibility and what remains untested. Packaging artwork approval and case approval are separate milestones; schedule the work together using the sample-to-bulk lead-time guide.
7. Send Kejie a brief that can be quoted
Start with the product links above and tell Kejie what the pack must achieve. Ask for a proposed structure and the information needed to produce a physical sample.
- Product: exact models, case dimensions, finish and complete set contents.
- Channel: wholesale, retail shelf/hanging or parcel shipping; destination and retailer/fulfillment requirements.
- Pack: preferred format, material/finish direction, usable size, insert and outer-carton requirements.
- Files: logo/artwork version, dieline status, model-label mapping, barcode responsibility and insert copy.
- Quantities: units by case variant, package size and artwork version; sample quantity; reorder plan if known.
- Quotation: separate case, packaging unit, setup/tooling, printing/finish, label/insert, assembly, sample and freight costs; avoid double-counting included items.
Confirm packaging MOQ separately. Ask about minimums per structure, size and print design, setup charges, lead-time starting conditions and unused packaging. If packaging quantity exceeds the case order, agree ownership, storage, later use and revision control before ordering.
Request a Kejie packaging and sample review →
Approve the case, pack structure, print files and variant mapping as one controlled set. That gives your first order—and the next one—a clear reference to reproduce.
 English
 Español de Argentina
 Русский
 Italiano
 日本語
 한국어
 العربية
 Français
 Deutsch